One day I hope to add wood planks to my great room ceiling to achieve this….

….until then…..we have decided to start by installing a wood plank ceiling in our master bedroom. Here is the before, the after and the how to…
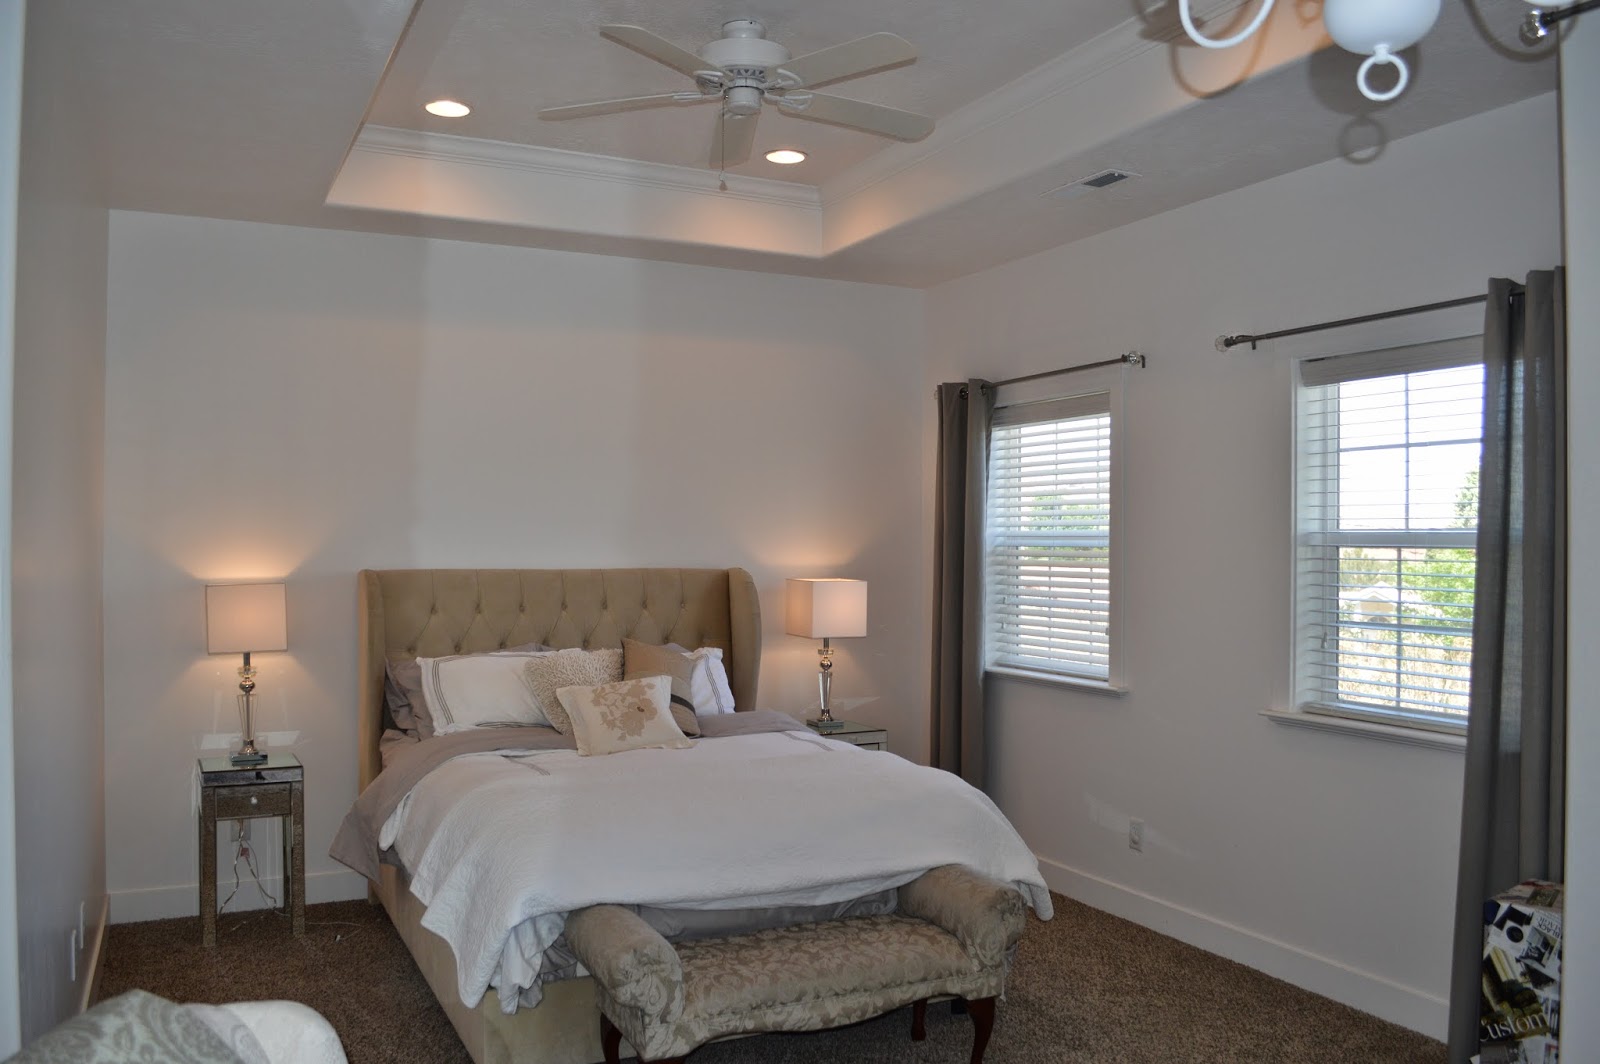
This obviously isn’t the best before picture, but we had this great recessed detail in our master, we had crown added when we built the house but we decided to change it to wood plants.
1. Remove crown/light fixtures:

2. Decide which way you want the planks to be installed and buy a really good nail gun :)
-Generally you want to install them in the opposite direction of the 2X4’s in the ceiling so you have something to nail them to, we of course wanted the planks installed in the same direction therefore had to also use a lot of glue and creativity!

3. Install your trim: We could have put the crown back up but it was just too formal for the area so instead we decided to use so extra mdf material we had from when we installed our wainscoting (see last blog post).

4. Paint and re-install lighting fixtures and done! (We ended up painting the ceiling fan the same color as the ceiling so it would match)
Design Tip: For more of a contract in the plank joints, paint the ceiling black before installing the planks and the cracks will appear darker)


I am so happy with how it turned out and if we would have installed it in the other direction it would have taken a quarter of the time but it was worth it anyways.
Now for the great room?……..