Garden Bed Basics: I know a lot of people do multiple small garden beds here in Utah but I knew I would have to build too many to get the amount of veggies I wanted and frankly there is no way my husband would build 15 garden beds for me, so we opted for 2 large ones: 1 for veggies and herbs, and 1 for fruit.
1. Build The Perimeter: We opted for Cedar but Red Wood can be used as well but it is more expensive. Cedar and Red Wood are very durable and higher grades of these woods are less prone to rot and insect damage, this is a very important trait for a garden bed especially because the amount of water that will come into contact with the wood. I chose to paint the perimeter wood a fun mint green color before my husband put it together, I just wanted something fun and different and it ended up being our accent color in our entire backyard.
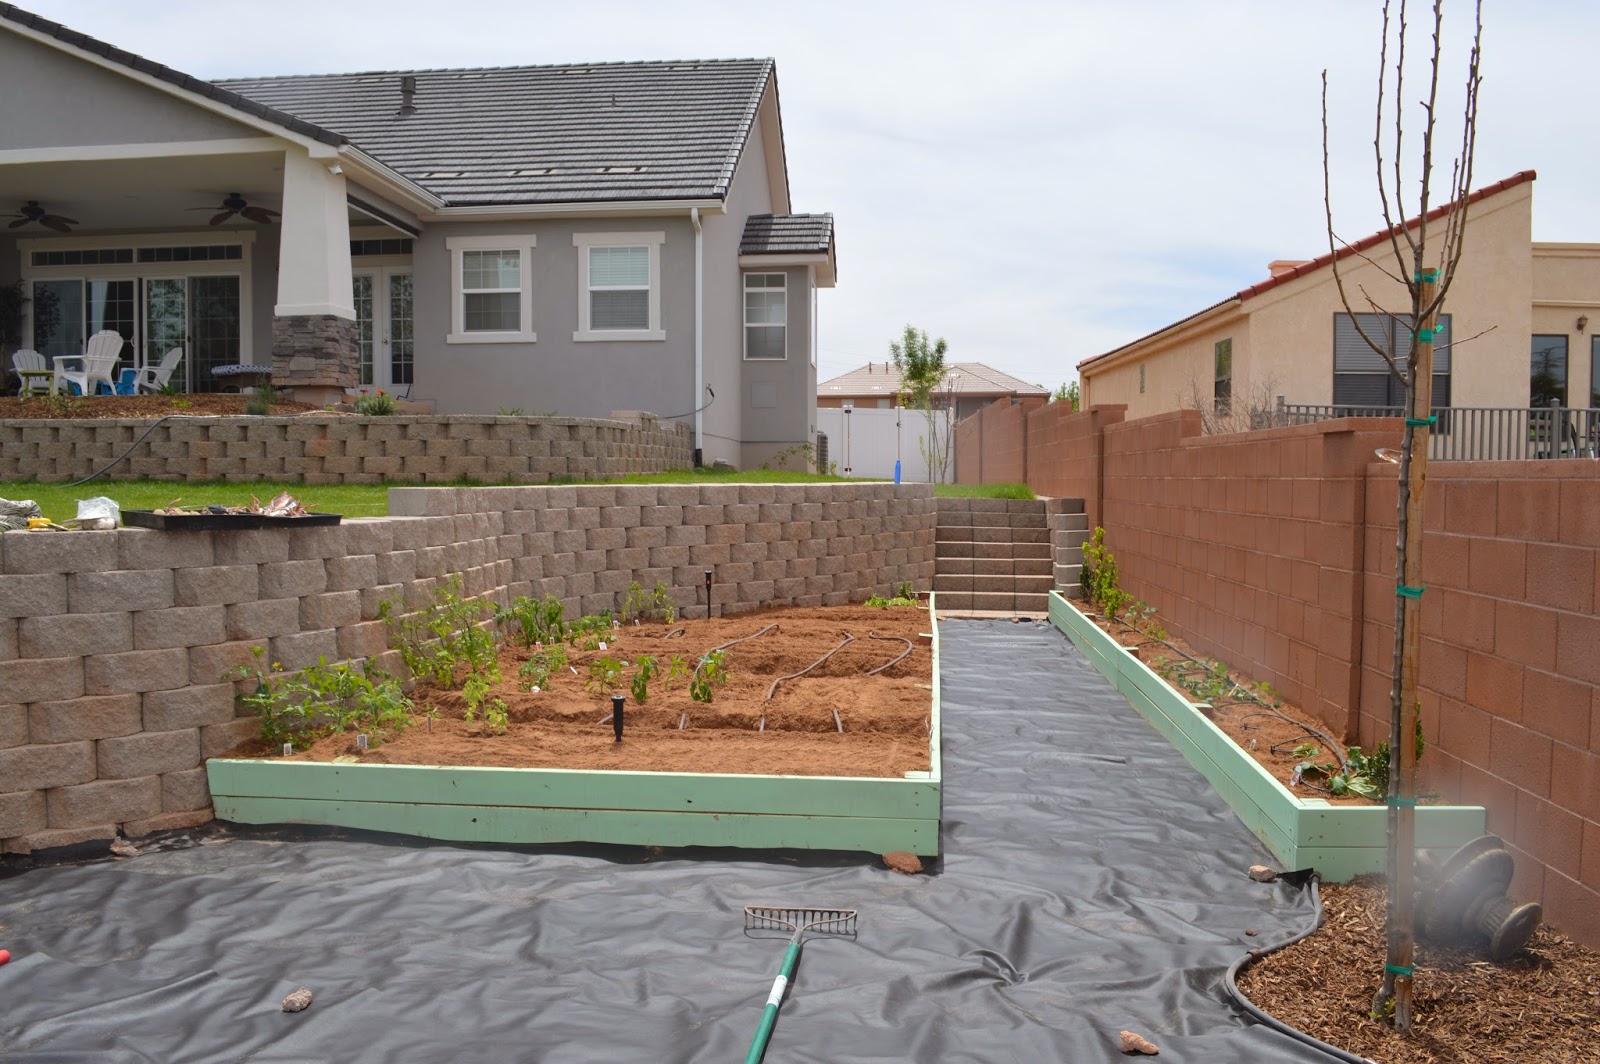
2. Install The Perimeter and Irrigation: We simply attached two 2X6 pieces of cedar with a 2 foot post every 5-10 feet then installed the posts in the ground. Our irrigation was already in place at this point, we had our landscaper set up water lines that would run slightly underneath the soils, from there we attached a sprinkler system that would mist the plans as well as drop lines to the plants that were not on the main water line.

3. Bring In Dirt, and Plant Garden: We made sure to bring in high quality soil and this was actually the most expensive part of the garden and new soil may have to be brought in every year. We then made the rows and planted the plants and seeds. For variety in your garden, you may want to purchase some seed, some small plans, and some more mature plants in order to get a variety of growth in the first year if you can’t afford to plant it all with plants. I wanted to make sure to make only veggies and fruits that I eat on a regular bases. We opted for spinach, lettuce, tomatoes, carrots, beats, peppers, cucumbers, potatoes, onions, peas, beans, herbs, grapes, raspberries, strawberries, zucchini, yellow squash and rhubarb (I don’t really love rhubarb but I am going to attempt to make a rhubarb pie). My main criteria was that I wanted to be able to make an entire salad from my garden.
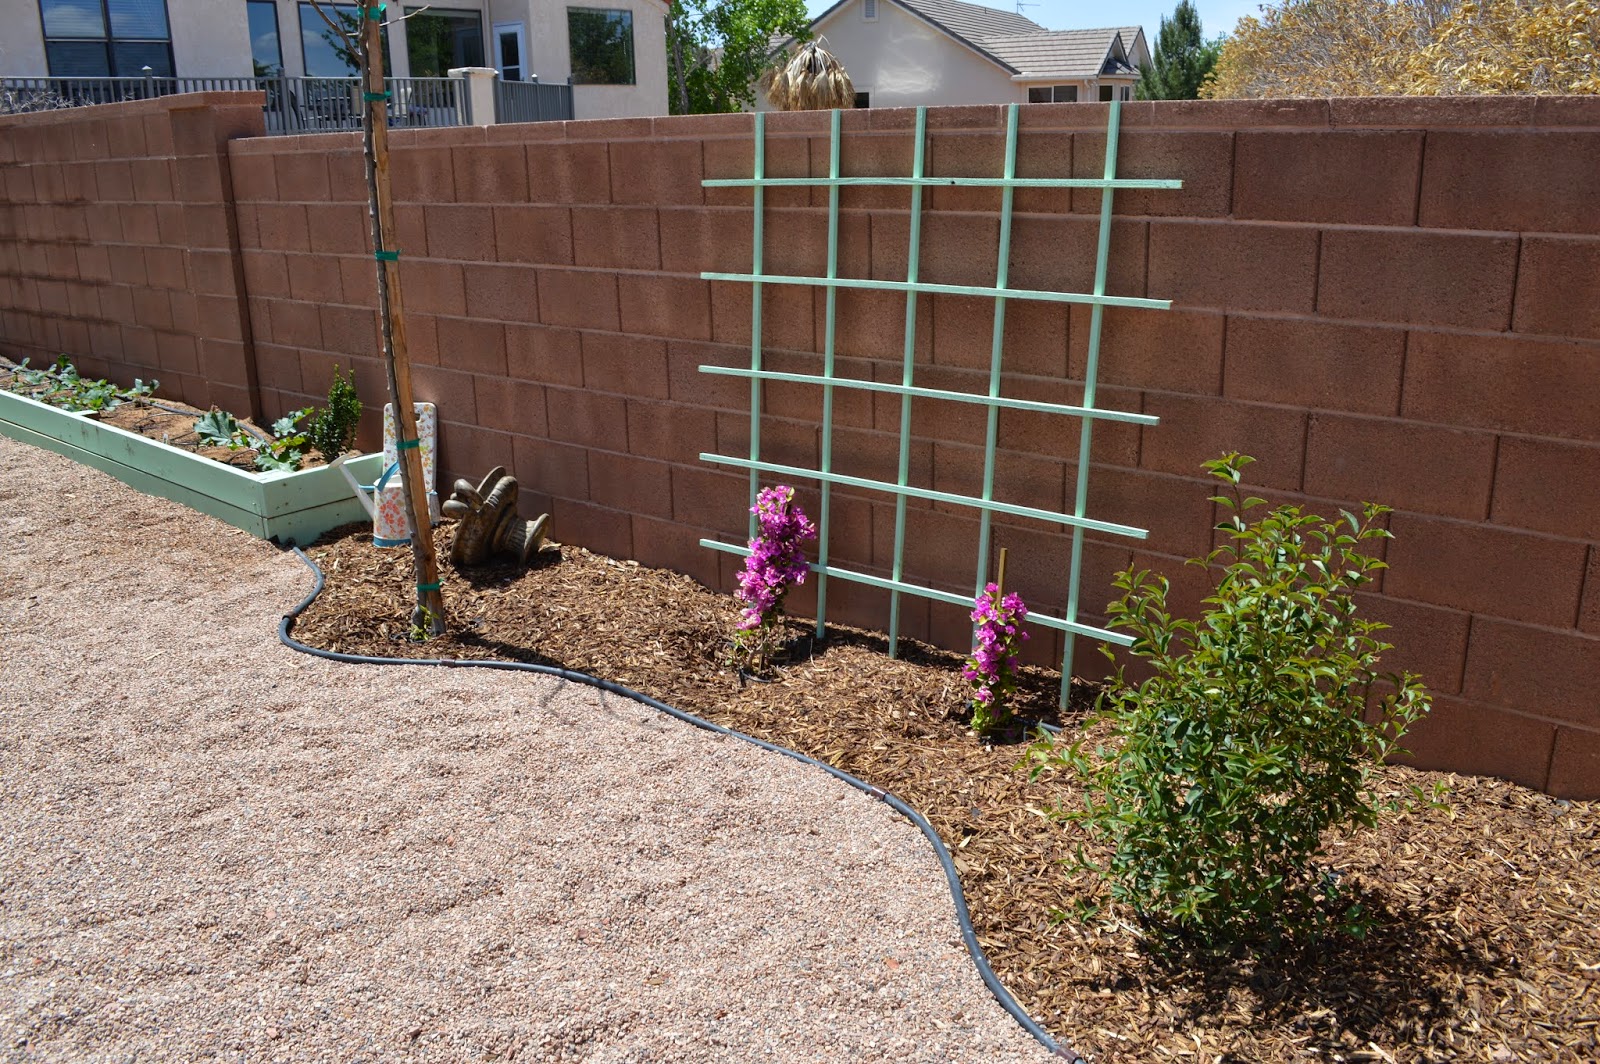
4. Finishing Touches: After we planted the garden, we installed the tomato cages, sticks for the tomatoes, peppers and lines for the peas to run on. After the base of the garden was now finishes and I could let things grow without worry, we used the extra painted sticks we had to make a fun trellis for our Bugambilia plants to run up.
Of course, I also couldn’t remember what I had planted in each row and my daughter kept pulling the tags out of the rows, so I added these fun row signs to each row!
5. Done: 1 full week and lots of work, we can now sit back and watch out garden grow and hopefully it will!
6. Progress: After only 3 weeks we have tons of growth (I was really worried all that work was going to be for nothing). The first thing to produce was our strawberry plants and it looks like everything else isn’t far behind.
7. Helpful Gardening Tips:
-Make sure you have sticks, cages, or strings for some of the veggies to grow up onto such as tomatoes, peppers and sugar snap peas.
-Potatoes: make sure to “hill” these by piling the dirt around the plant so there are never any potatoes above the dirt.
-Tomatoes: Don’t forget to remove the “suckers.” The sucker branches often make the plants to heavy to be supported by the main stem and also take nutrients from the original plant.
-Seeding: If your seeds don’t fully product just keep planting more until you get the amount you want.


